

 Español
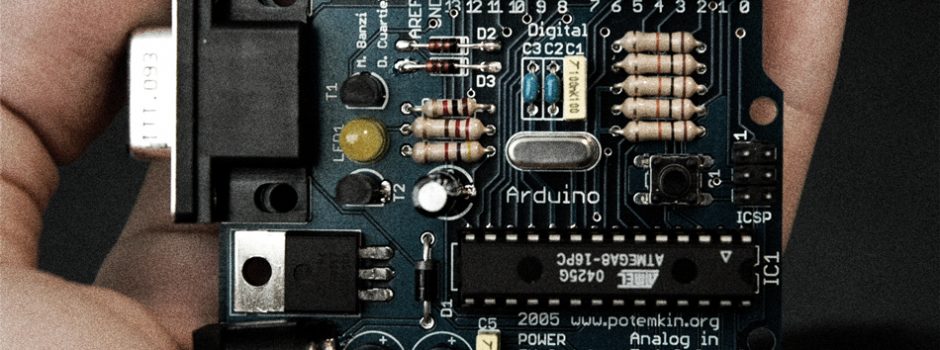

Mini MIDI module for Arduino
A bit of CNC Workaround:
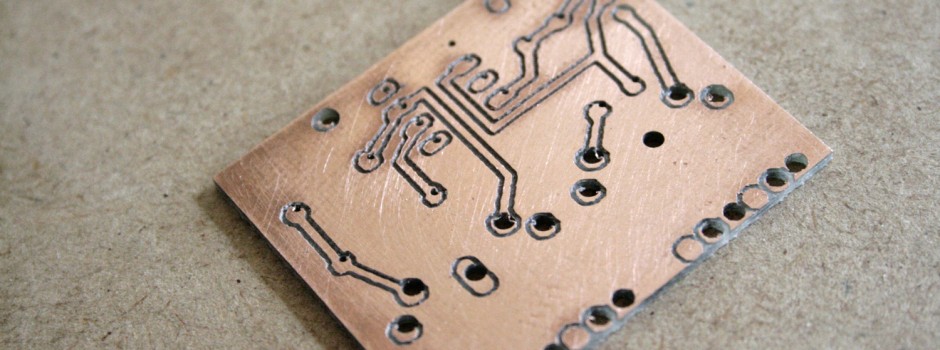
This is one of the first successful tests I made using my CNC. A simple Arduino MIDI shield to use in my projects using just 4 wires, GND and voltage plus Serial Rx and Tx.
At first most of the tedious work was to get my head around the workflow.
First, you need to have a good understanding of Eagle Cad software, how to use the components and width of the traces to get a proper CNC work. It might sound obvious but is a tedious abstract work, that one cannot understand untill completing the whole process a couple of times…

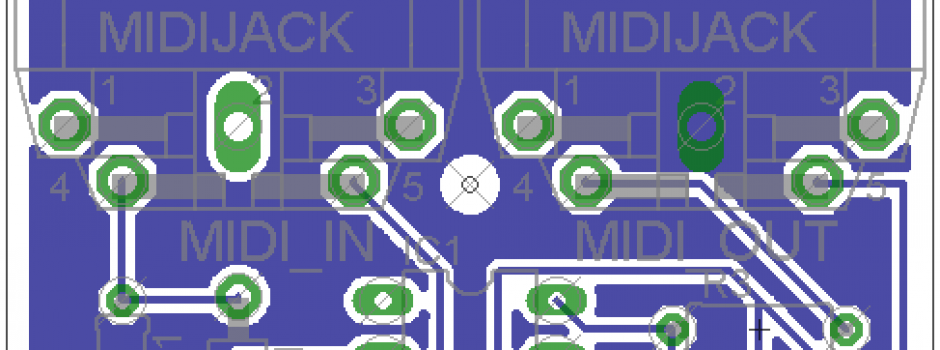
PCB Eagle img
PCBGcode:
The good news is that there are already available very useful tools for this task. Using PCB GCode Script we will setup the settings to match our CNC dimensions, feed rates and Tool bit.
All this process will allow us to prepare “CNC friendly” PCB files, and the Script will out put a bunch of files, Top layer, Bottom layer, Silkscreen, Milling…
But this is not all… Once you finish the process, you will end up with more or less some very messy files. This is due to the fact that Eagle doesnt organize this vectors in a logic way for the CNC, so the Spindle will be constantly changing position and increasing drastically the milling process.
PCBGCODE Wizard:
After some messing around I personally decided to go for it and buy the PCBGcode Wizard. Is not free anymore, but 18 dollars seemed to me like a fair deal considering it was going to save me lots of mess and headache afterwards :).
It is a very nice little tool which allow you to optimize the Output files from Eagle and tidy them up, making them even more CNC friendly. This cuts down cutting time by more than half.

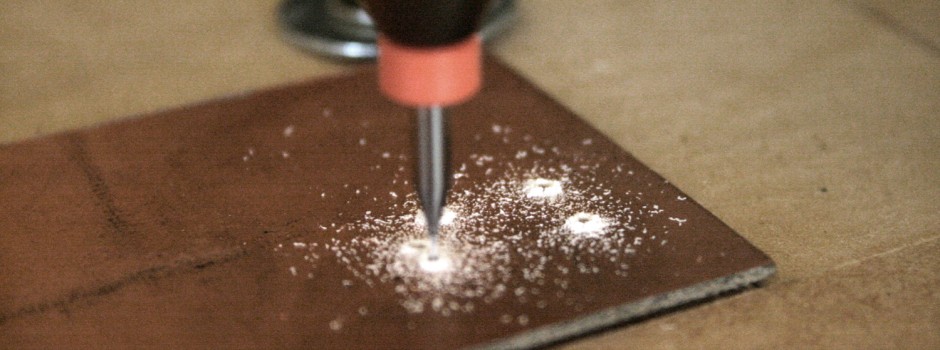
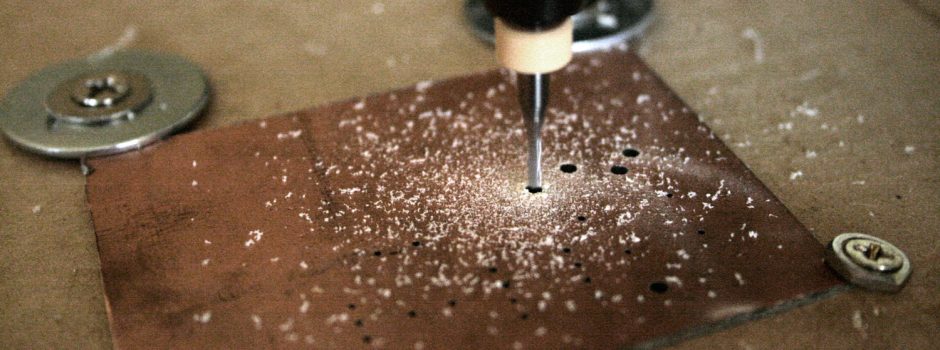
Drilling holes CNC
The nicest side of it is that you can preview the files, and even make a rough approach of what the result will look like considering the Width and type of end bit used, which I have to say it works quite well to get you an approximate view of the final result.
It also allows you to delete weird artifacts, simplify the traces for “One pass” techniques and other useful things before saving a final GCode file.
So, once you clean the files and saving them you end up with one file for Top layer, one for Bottom layer, one for milling, and drilling (one or more depending on diameters needed). The trick here is that PCBGCode aswell as many professional solutions for CNC, incorporate Tool Bits Files, which allow the software to select and choose different end bits during the milling process.

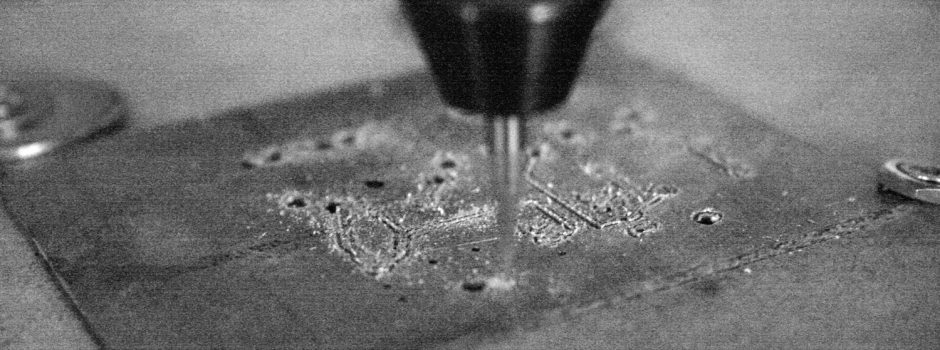
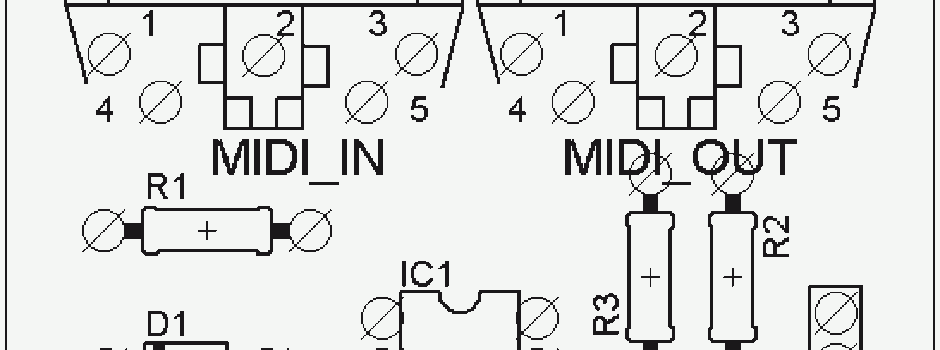
PCB Traces – MIDI Module
The problem is that EAGLE export many different diameter holes depending in the components, so you end up with a drill file
suggesting you are going to change your tool each time the diameter changes. PCBGcode Wizard allows you to adjust this so you can have one or as many files as drill bits you want to use.
In my case my CNC doesn’t have a way of using more than one end bit so I manually select the holes I want ending up with 2 or 3 drilling files. One for medium size holes and one for small components, some times a third one for screws and other big mounting holes like the MIDI Socket.
EAGLE & PNG PCB Files for Free:
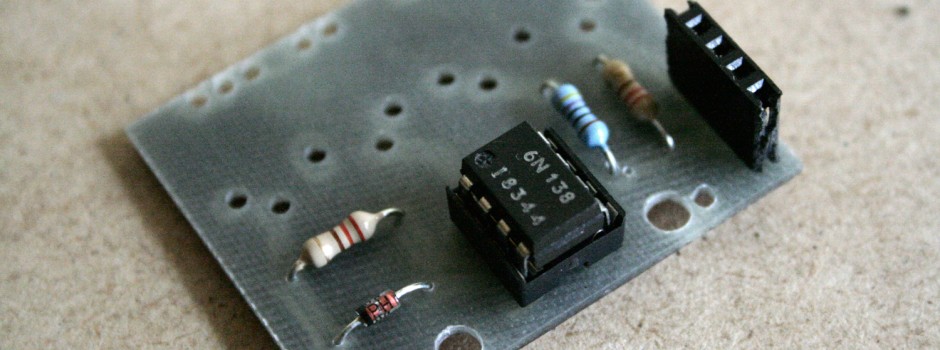
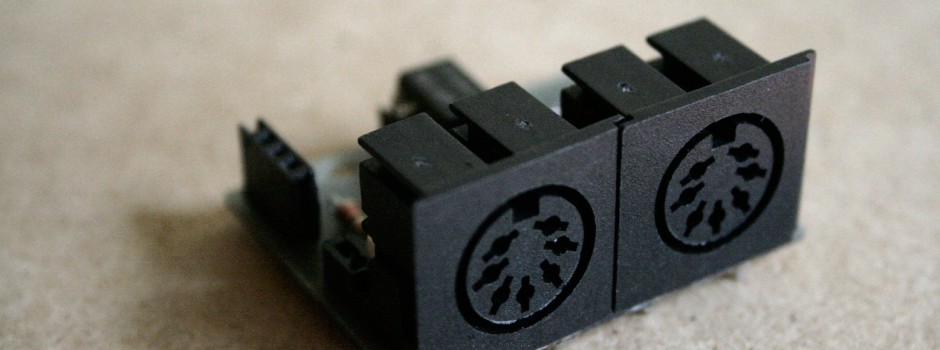
I know that nowadays is easy and cheap to get Arduino MIDI Shields, but to be quite honest, Midi interfacing is extremely easy and cheap as you can see, just a little board and a few components can give you full MIDI input and output to any microcontroller project.
I like to Midify many things and add my own small module to my projects, so I made myself this Mini MIDI module to be installed in ETHERUS, and works perfect aswell as being very compact. So I want to offer it for everyone to use here.
I´m not an electronic expert so please feel free to comment, change it, improve it, add some LEDs :) whatever you feel!
[wpdm_file id=1]
MUY CHULO MAESTRO, SOBREPASA MIS POBRES CAPACIDADES ACTUALES PERO A VER SI MÁS ADELANTE ME PROPONGO A MONTARLO!
GRACIAS POR COMPAERTIR TUS PROYECTOS!
UN ABRAZO
Very good info on creating PCB! I don’t have CNC, so I’d go with matrix board with MIDI, as it really is simple. From the idea of making the MIDI board yourself to the details, I like this!
Hey Sami Im glad you like it and yeah good to see you have your system, at the end of the day is having the right tools and best personal workflow, but definitely enjoyable!
cheers!